Address
590 Cox Mill Rd,
28027 Concord, NC
Email adress
africa@rolledwall.com
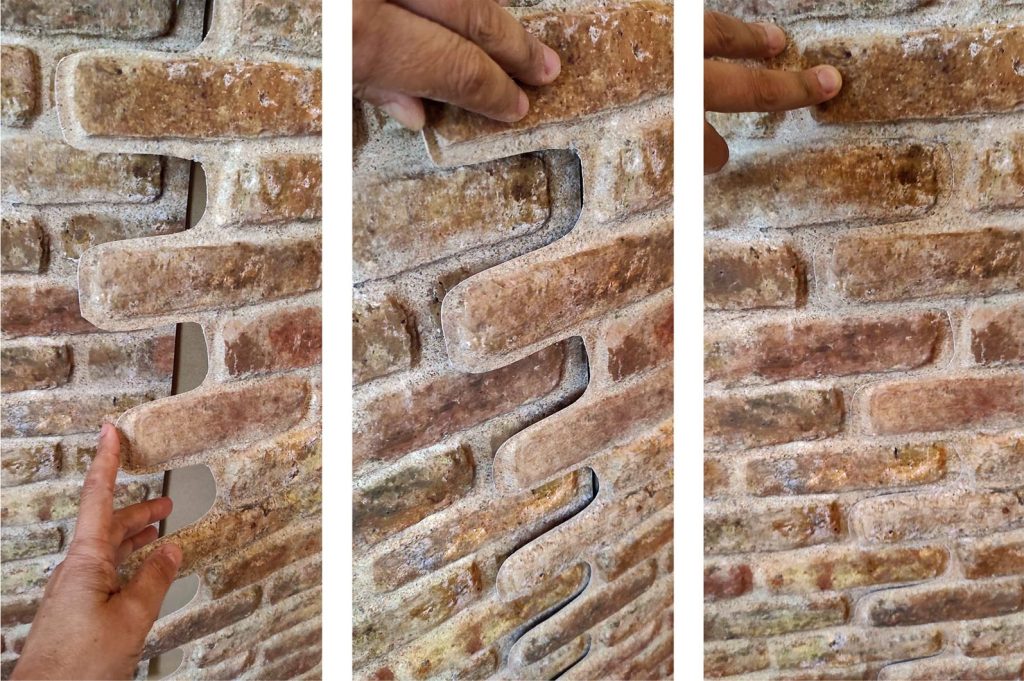
Without using any special tools, you can have your set ready.

In the case of the matt pieces, it has a water-based varnish. If you expect it to get wet, let us know and we can deliver it without varnish.
Roll presentation Less than 1lb/10 Sq ft. Without tools. Can be painted and varnished over.
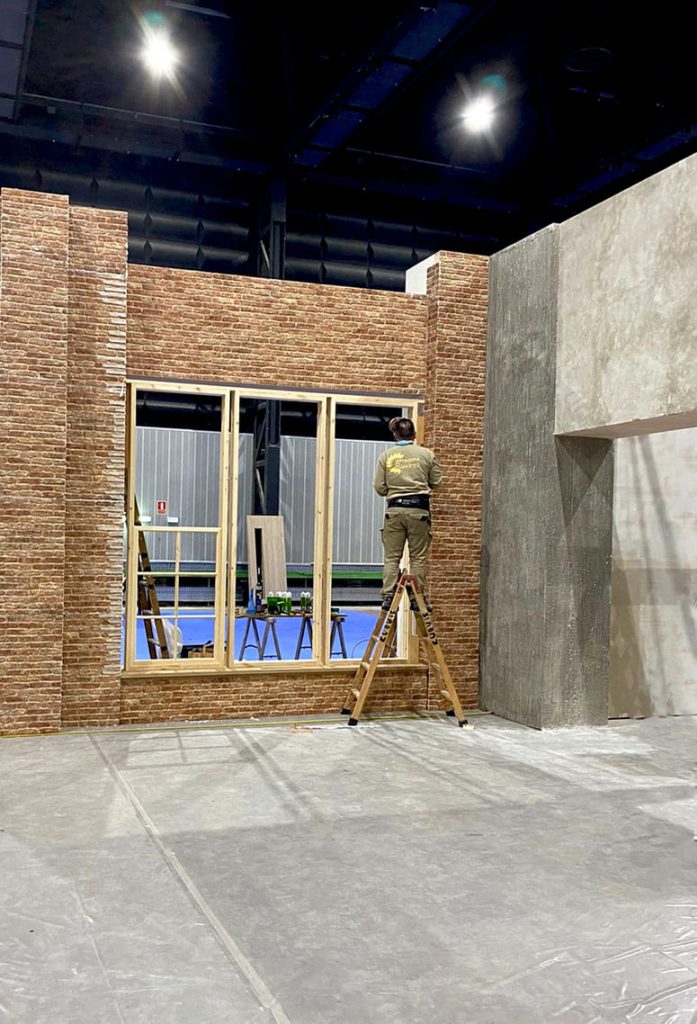
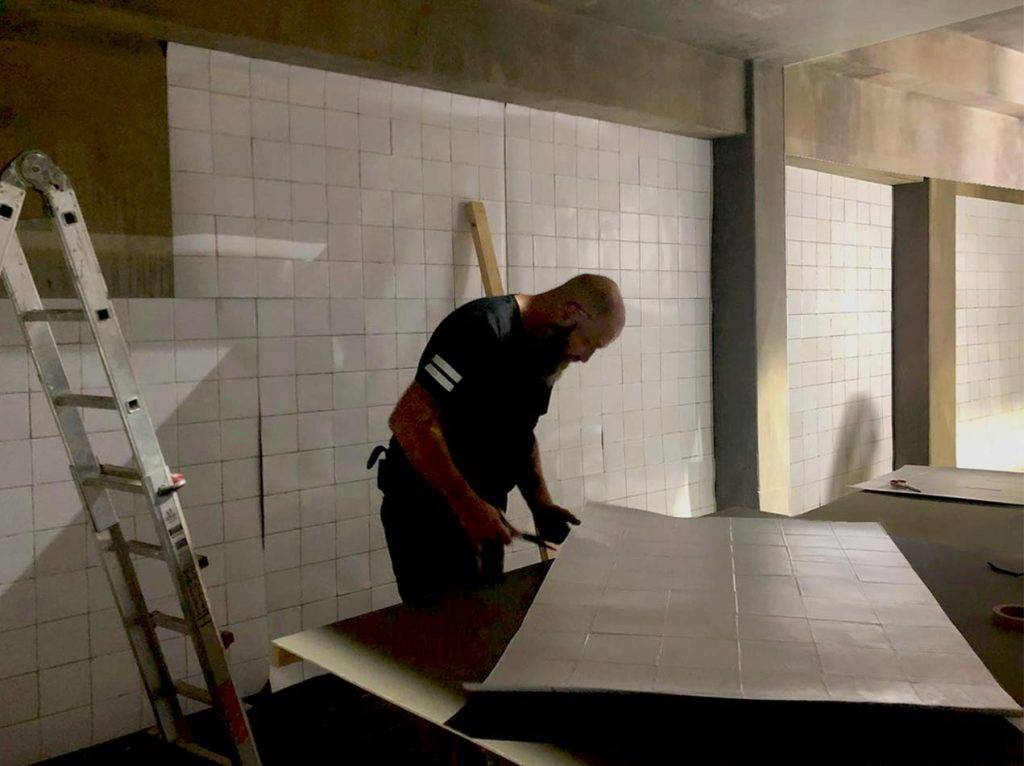
Installation
Intervention with paint on the plates
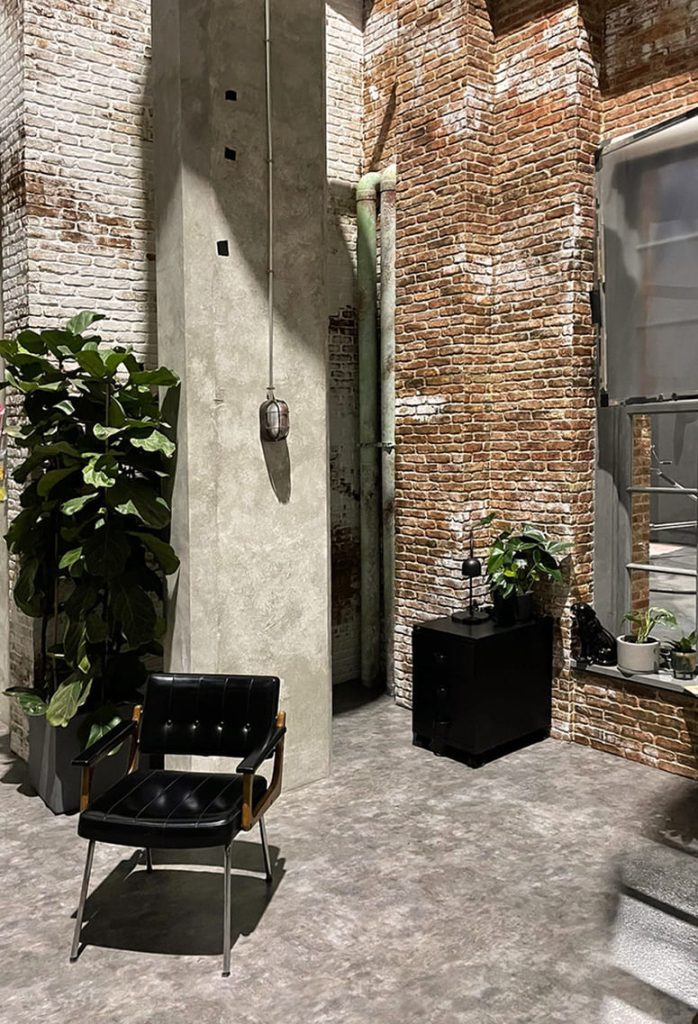
“Final photo”
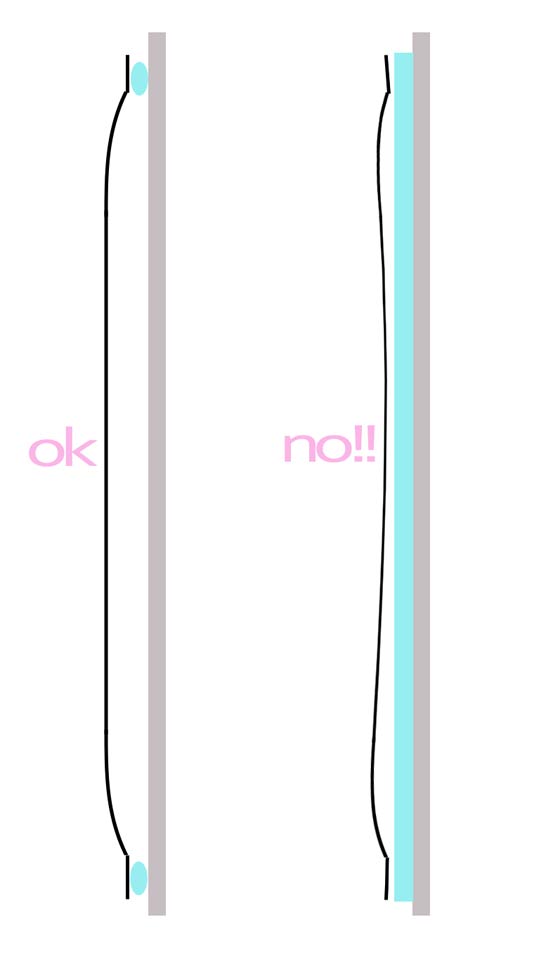
Do not put adhesive or silicone all over the surface. You should not glue everything to the wall; it is not necessary because of its light weight, but above all you will deform the volumes we have made.
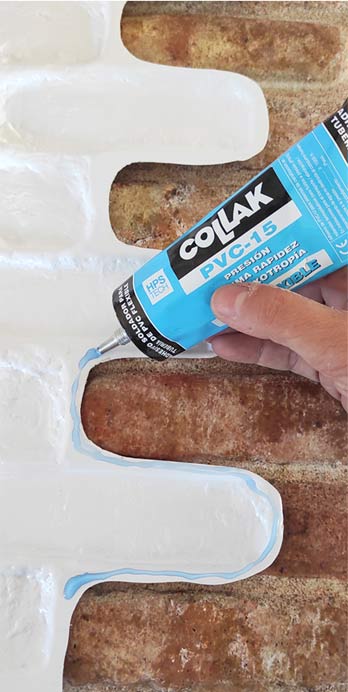
If the wall on which you want to place the plank cannot be damaged, you can use some removable adhesive, and apply the silicone on it (but always do a small test first to check that everything goes well).
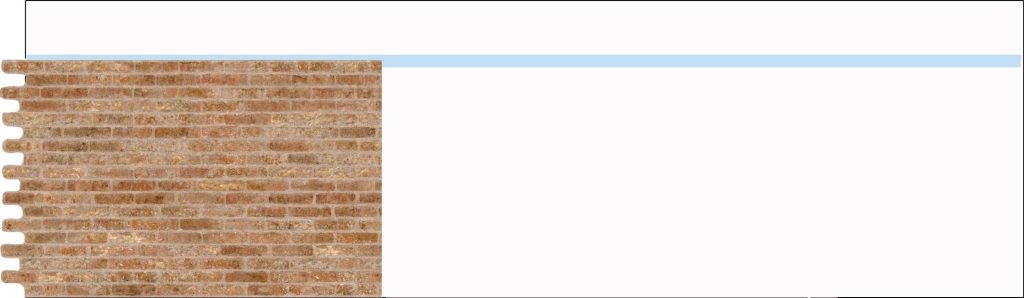
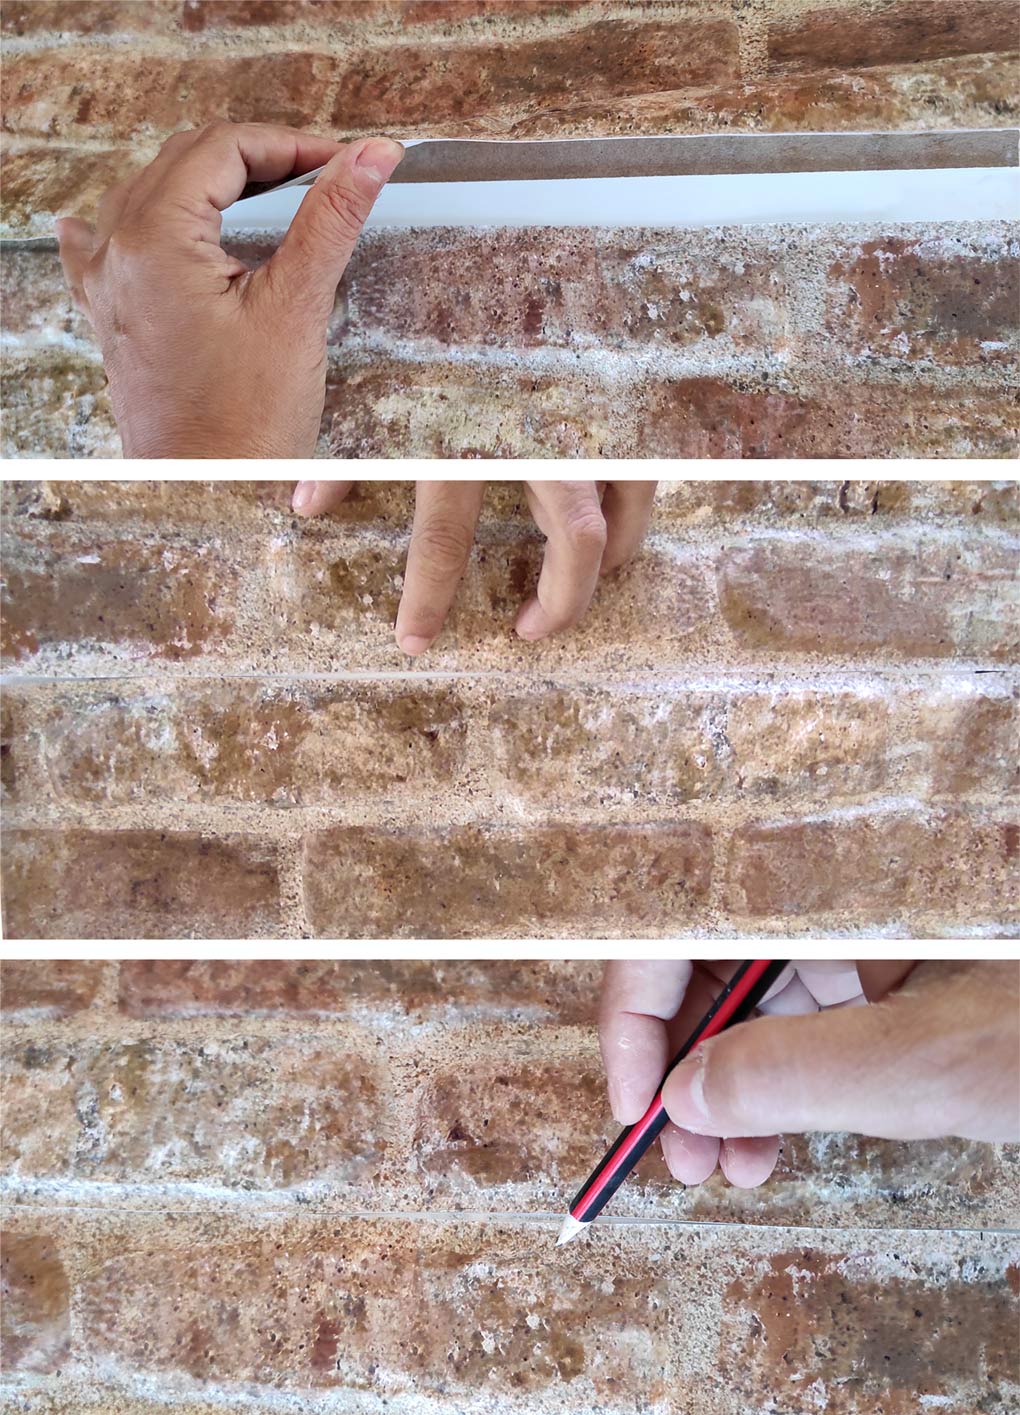
Measure exactly where you are going to place the first row of bricks and stick a double-sided tape about 1.57 in or1.96 in wide on the wall, so that you can stick a couple of centimetres of the bottom and a couple of centimetres of the upper one (in the picture, the tape is shown in blue).
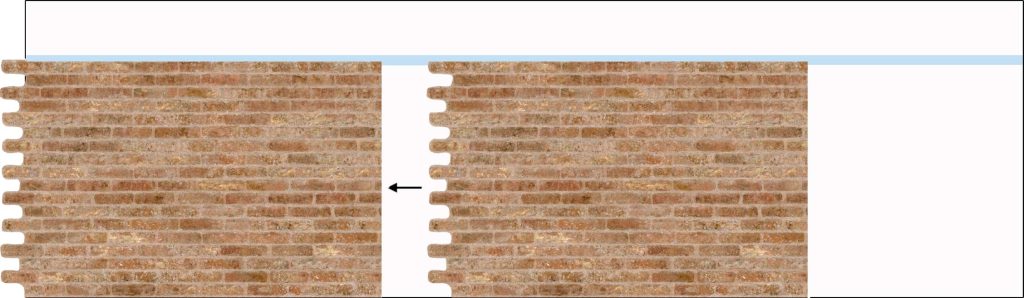
Start by placing the first bottom left corner. You can fix it with a bit of silicone, double-sided, staples…. you won’t need a lot of fastening as its low weight doesn’t require it.